


How to use a crypto hardware wallet: A step-by-step guide
-
You can set up and use a crypto hardware wallet in just a few steps. Learn how to get started, secure your keys and safely manage your assets.
If you’re ready to take crypto wallet security seriously, using a hardware wallet is one of the best steps you can take.
You may already be aware of its advantages over a software wallet: keeping your private keys offline, minimizing exposure to malware and giving you full ownership of your crypto assets. Maybe you’ve even picked out your device.
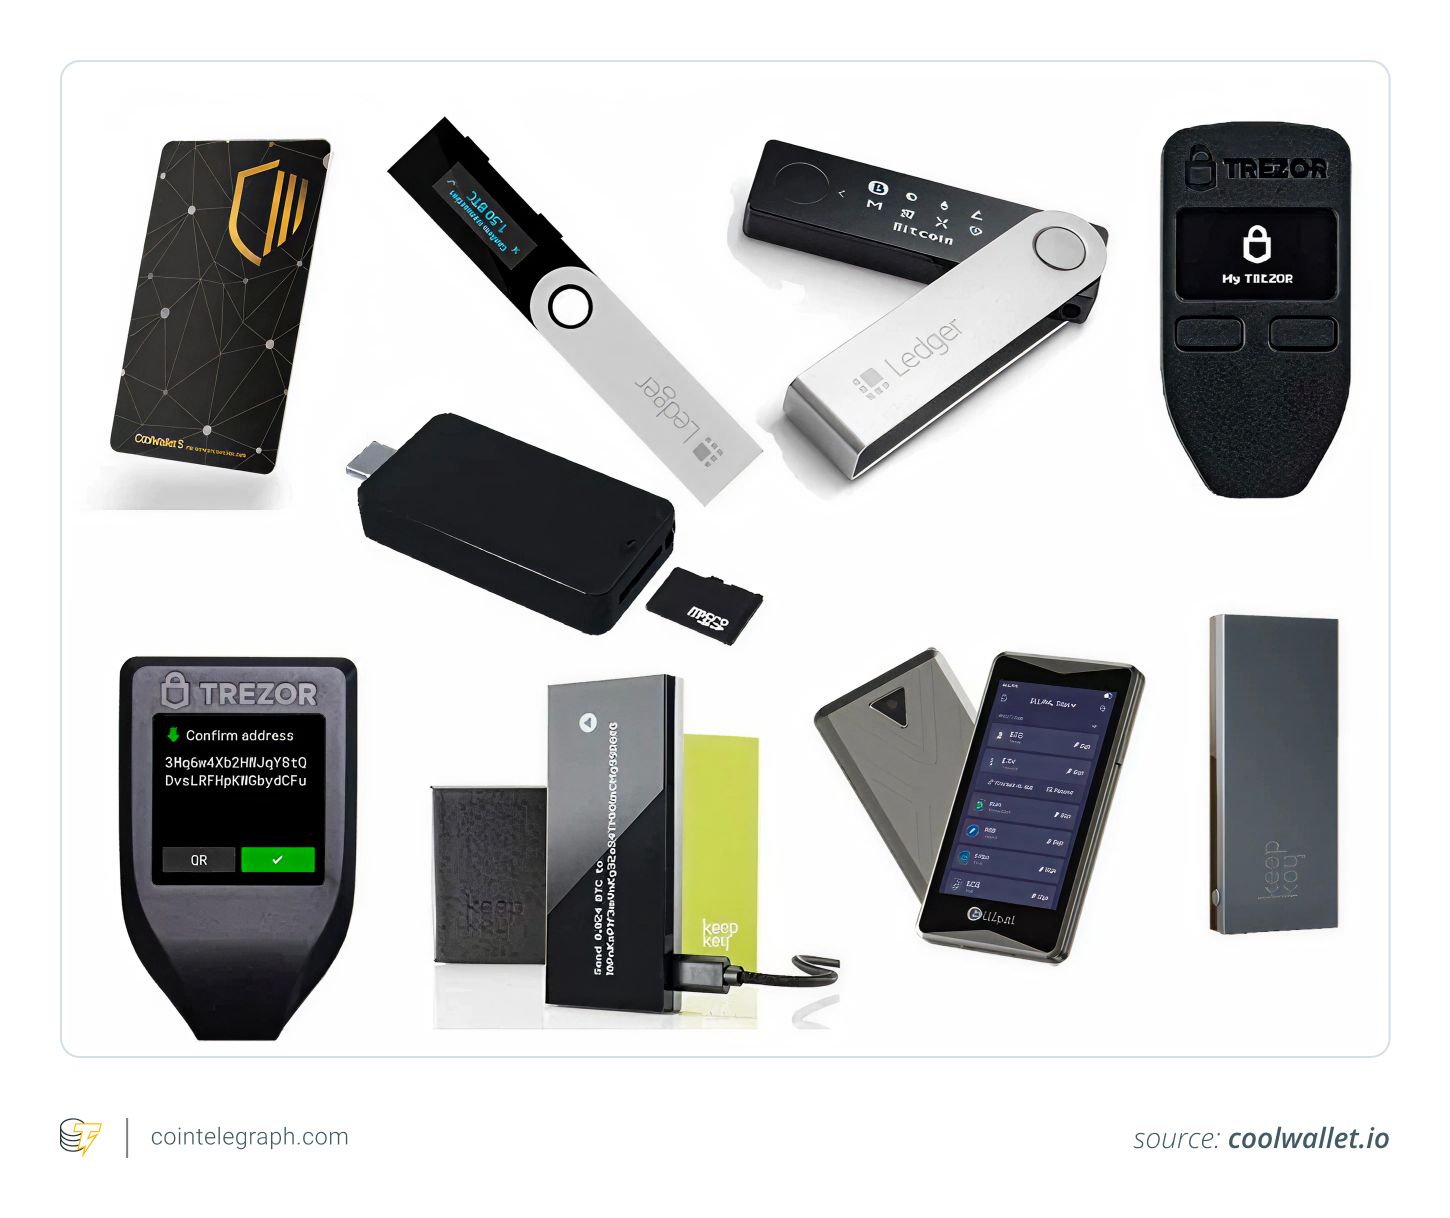
The good news? While there are several options out there, from Ledger to Trezor to newer multichain hardware wallets, the basic experience is similar. This hardware wallet setup guide will walk you through unboxing, verifying the device, securing your PIN and backing up your seed phrase.
Getting Started with the Trezor Safe 3 Hardware Wallet (2025 Guide)
For this guide, we’re using the Trezor Safe 3 — perfect for beginners but powerful enough for advanced users. It’s great for DeFi and connects smoothly with MetaMask.
What’s in the Box?Trezor Safe 3 device with tamper-evident seal USB-C cable Two recovery seed cards Quick start guide Trezor stickersQuick Setup Tips
Check packaging and seals to ensure no tampering.

Power up by plugging in via USB—no batteries needed.

Download and open Trezor Suite on your computer.

Install firmware if prompted.

Verify device authenticity via the Suite and your Safe 3 buttons.

Create a new wallet or recover an existing one.

Choose a backup method (standard seed backup recommended).

Write down your recovery seed carefully on the provided cards — never save it digitally.

Confirm your seed by selecting specific words.

Set a secure PIN using the device’s randomized keypad.

Enable coins like BTC, ETH, and more.
Receiving & Sending Crypto
To receive, select the crypto account in Trezor Suite, generate an address, and always confirm it on your device screen before sharing.

To send, enter the recipient’s address, amount, and fees in Trezor Suite, then confirm the details on your Safe 3 before approving.
Using Trezor with MetaMask & DApps
Connect Trezor via MetaMask’s “Connect Hardware Wallet” option.

Approve public key access, select your wallet address, and unlock it in MetaMask.

Transactions initiated in MetaMask require physical confirmation on your Trezor, ensuring secure signing even if your browser is compromised.
Why Use a Hardware Wallet in 2025?
Hardware wallets like the Trezor Safe 3 remain the gold standard for securing crypto, DeFi, and NFTs with offline cold storage and strong backup options. If you want the best balance of security and ease, Trezor Safe 3 is a solid choice.
For more options, check out the updated 2025 hardware wallet guides covering Ledger, Trezor, and advanced setups.